Texture Objects
We want to put an image on an object, rather than just have a solid color.
Texture Types
There are several types of textures.
Diffuse/Albedo map - Color for object. The is the basics of what you need. Although the image can look “flat.” Think bricks. Shouldn’t look flat, but will be with just a diffuse map.
Bump maps - Create illusion of depth via grayscale data. Shade of gray is height. These are grayscale images.
Normal maps - Better than bump maps, uses RGB for more info. This can give us x, y, and z. Allows for angle and more realistic looks. These maps tend to look blue.
Displacement/Height map - This map is used to actually changes surface they are on.
Specular/Metallic - Maps out what part of the image is shiny.
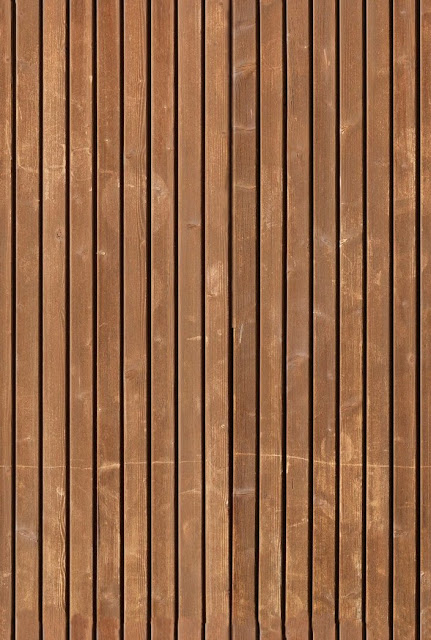
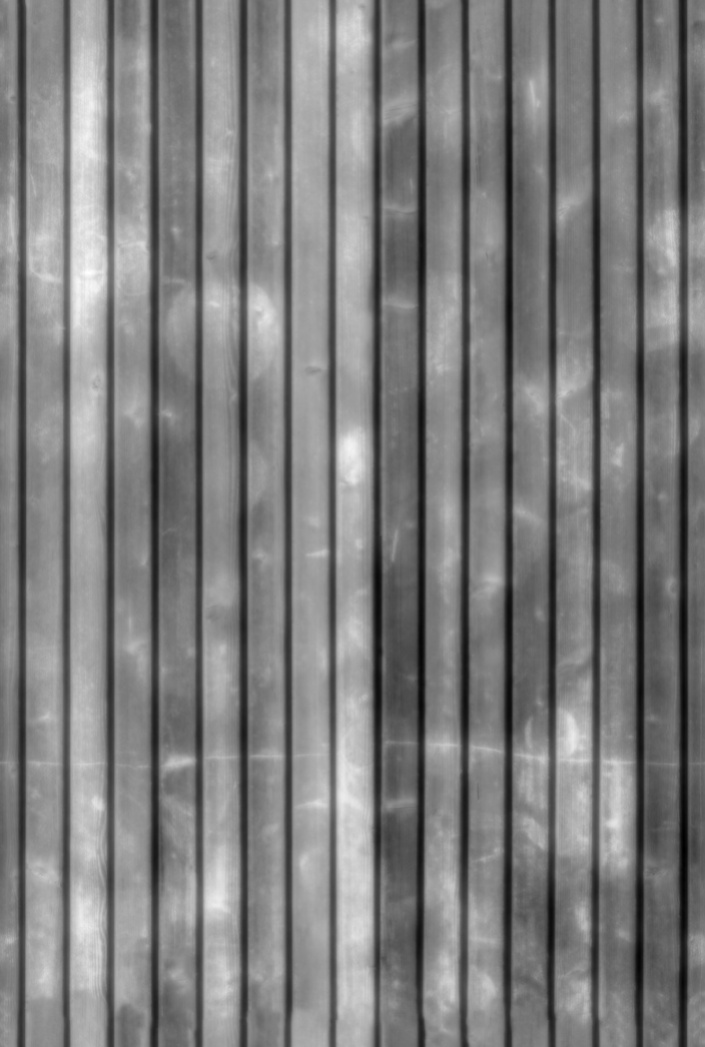
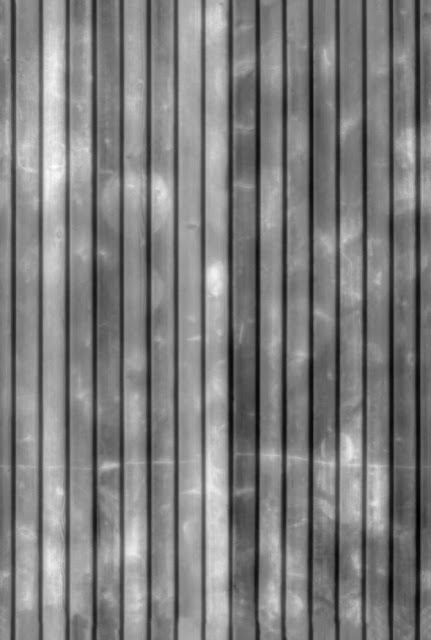
Here are some samples from Texturise, their “Tilable Wood Planks Texture”.
Texture
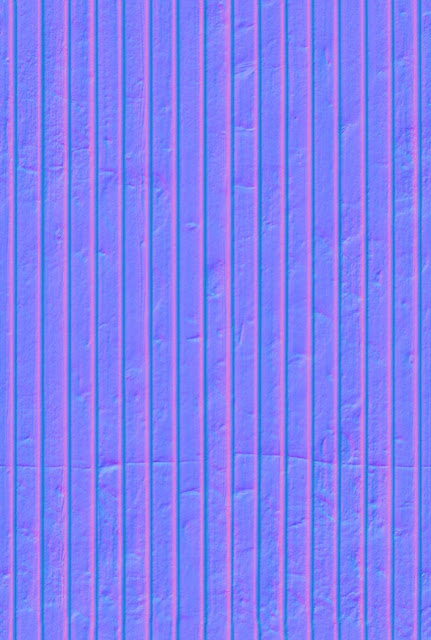
Normal
Specular
Displacement
Albido/Texture image/Color
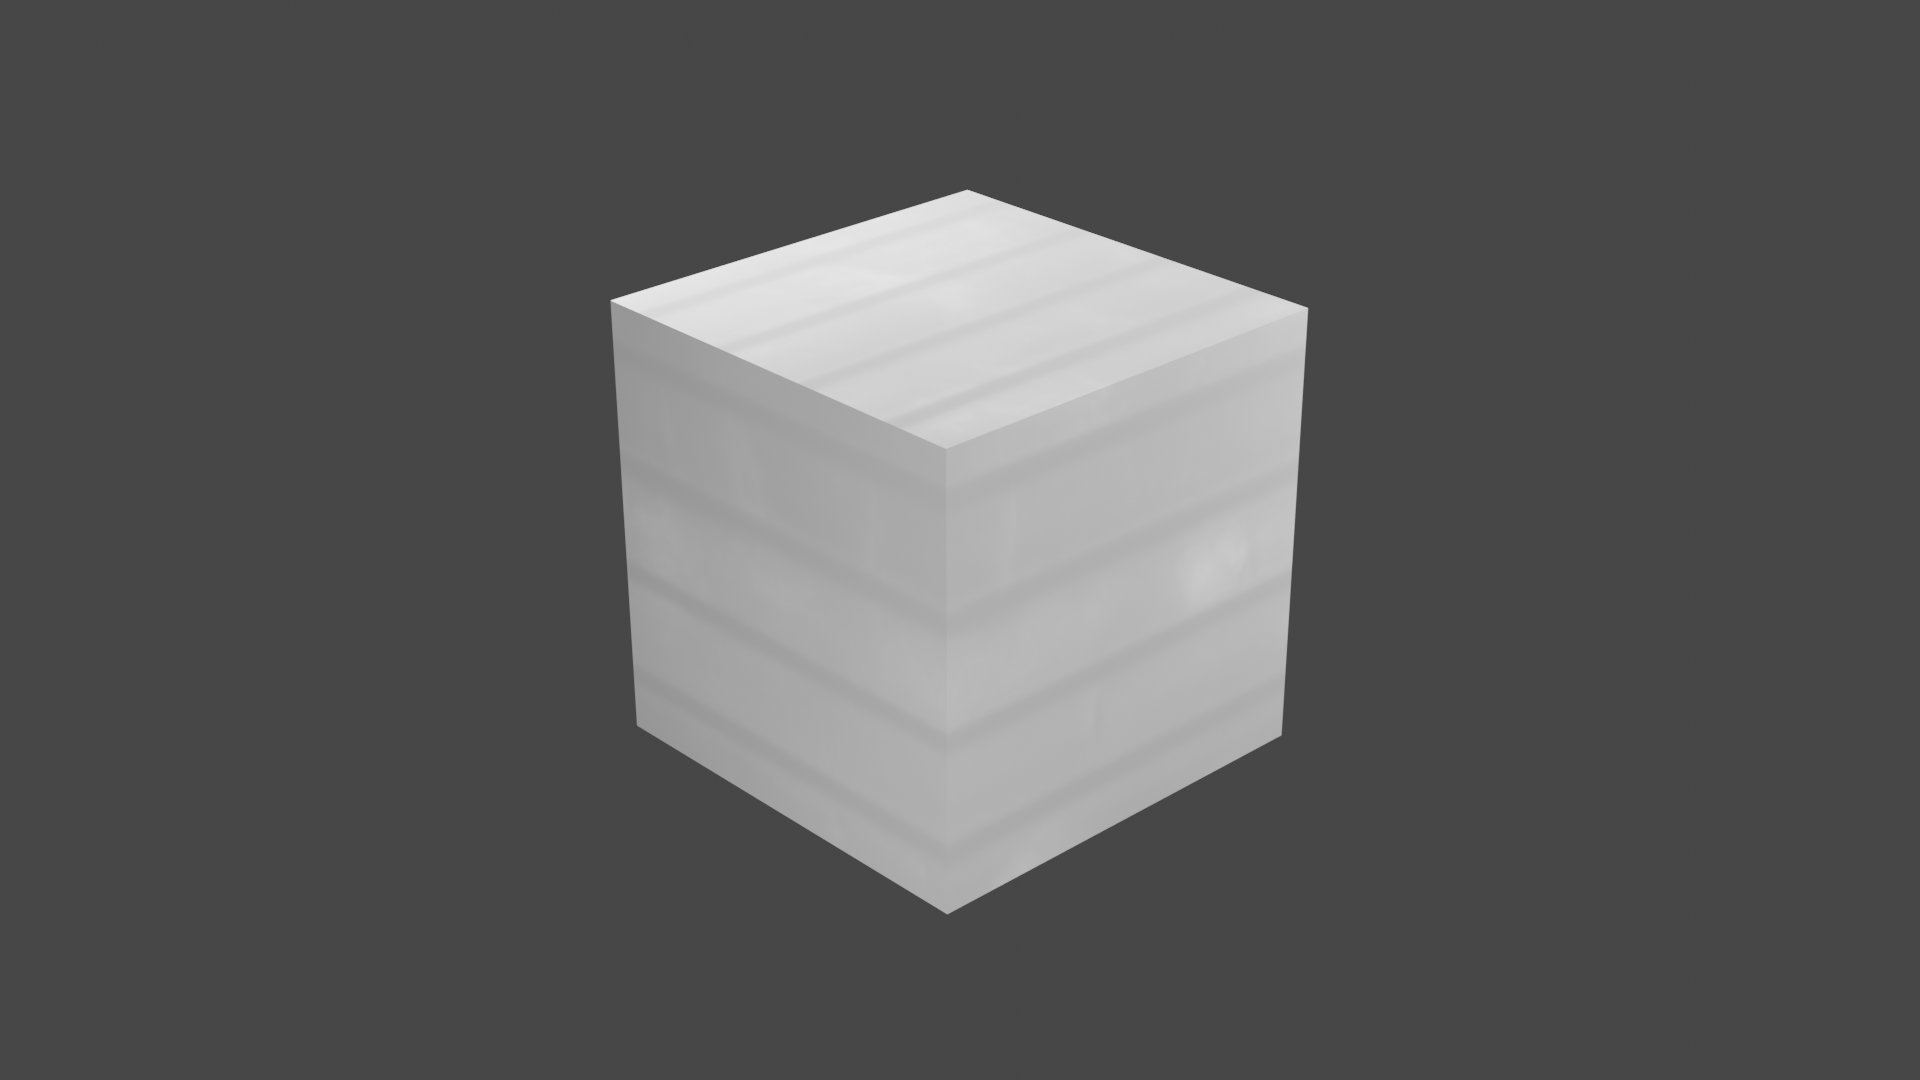
Normal
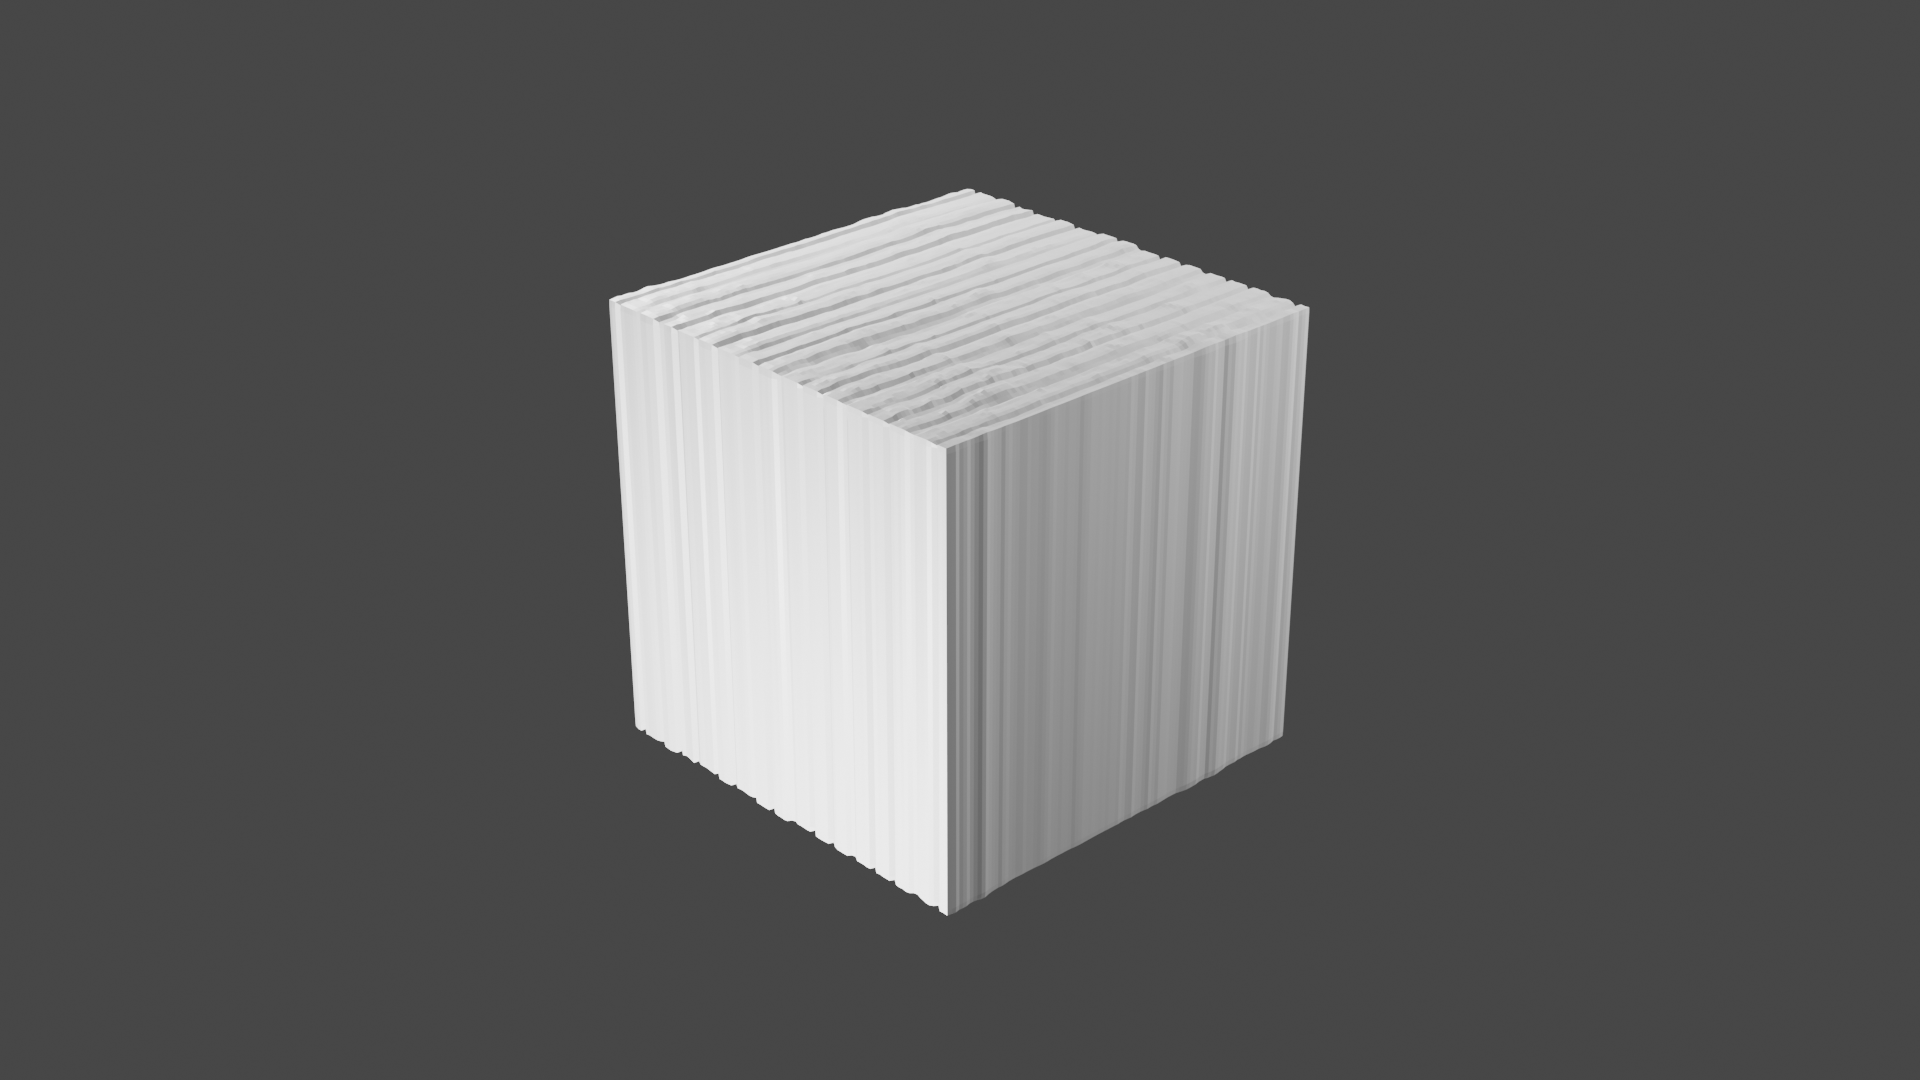
Displacement
Specular
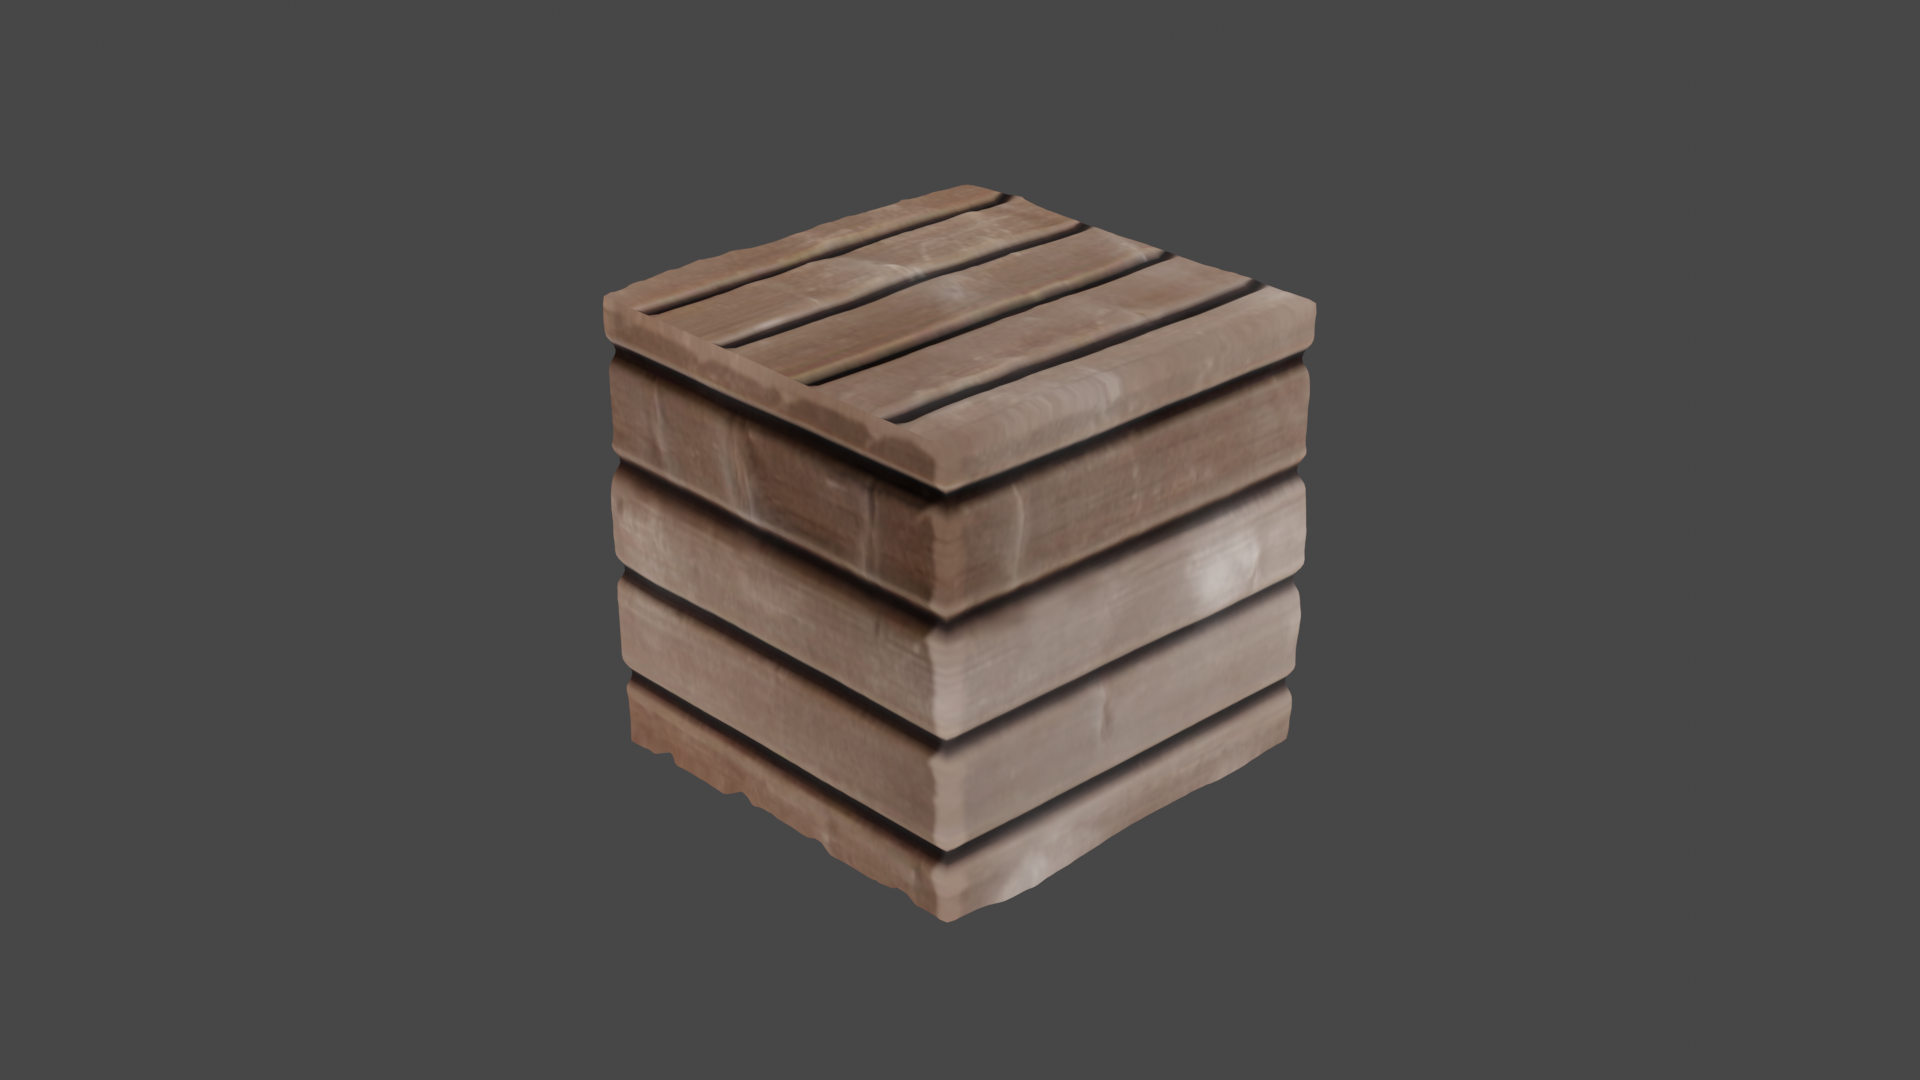
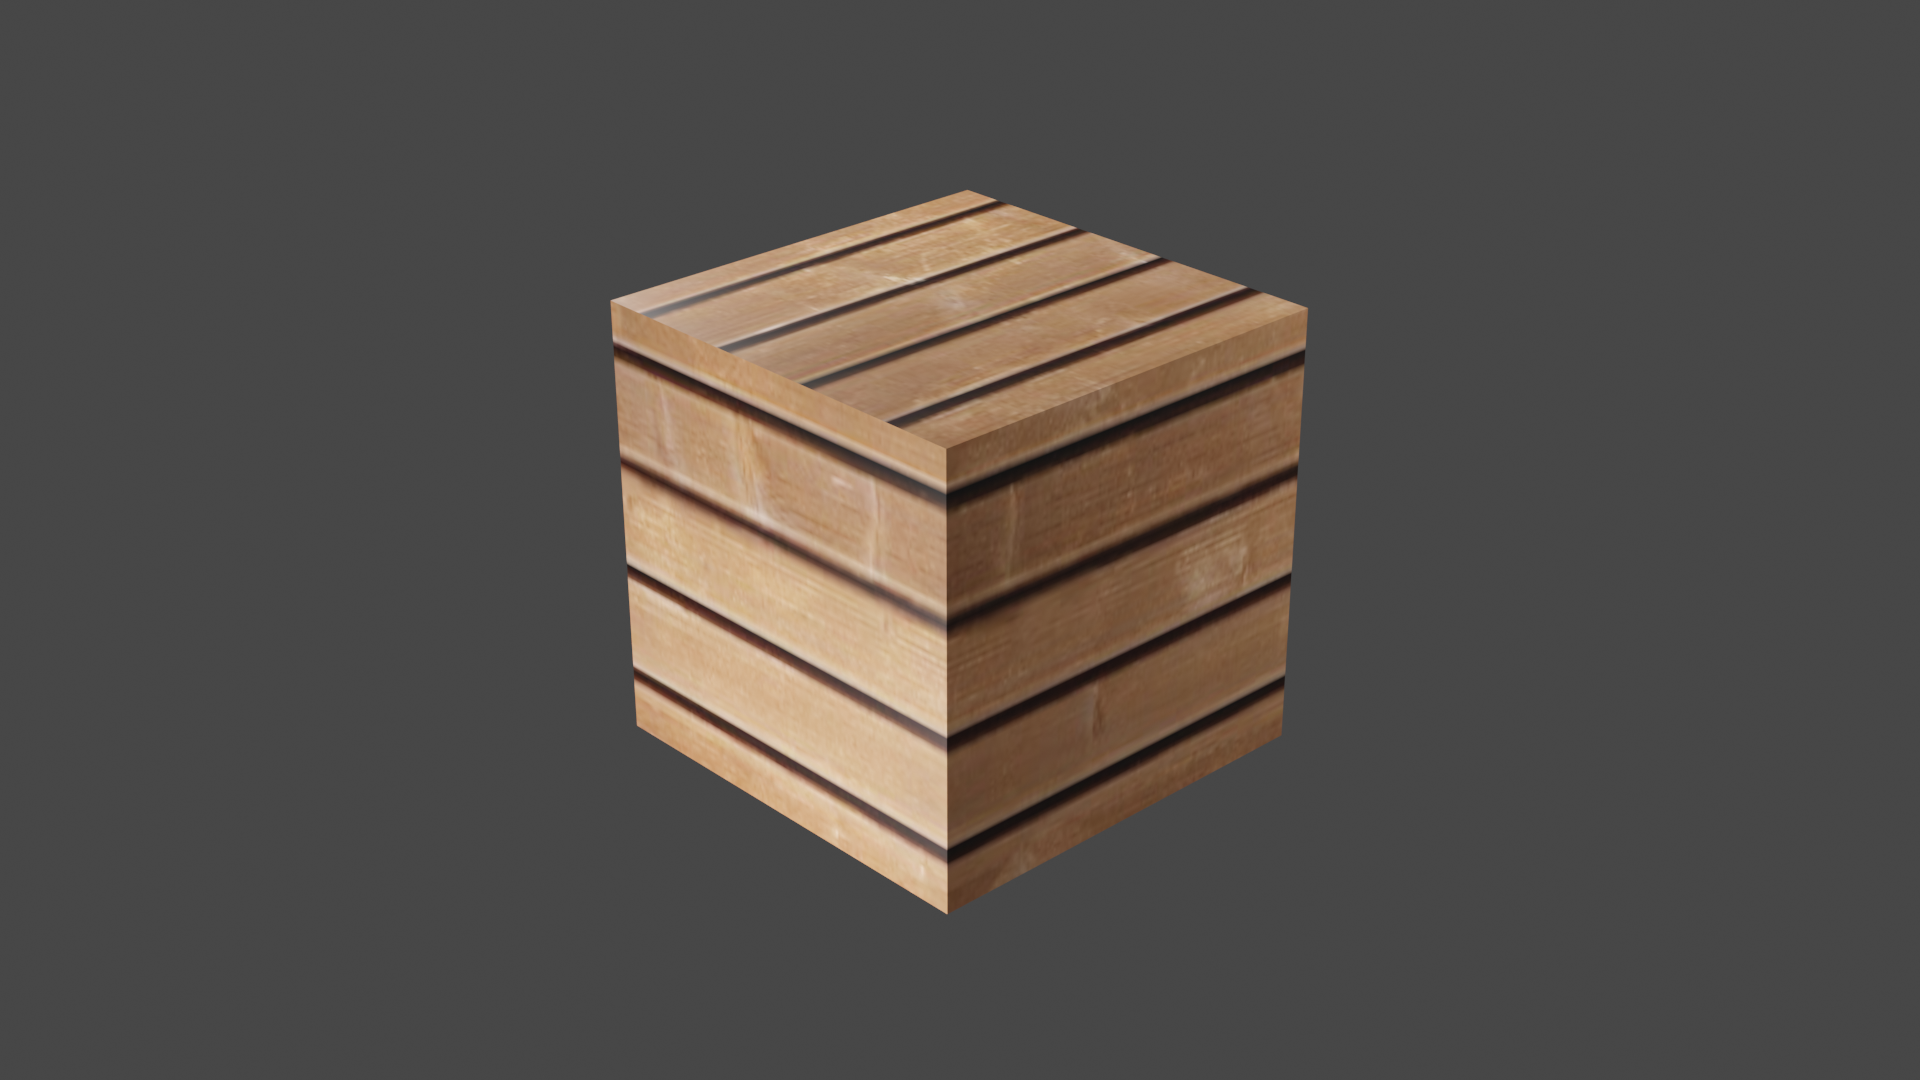
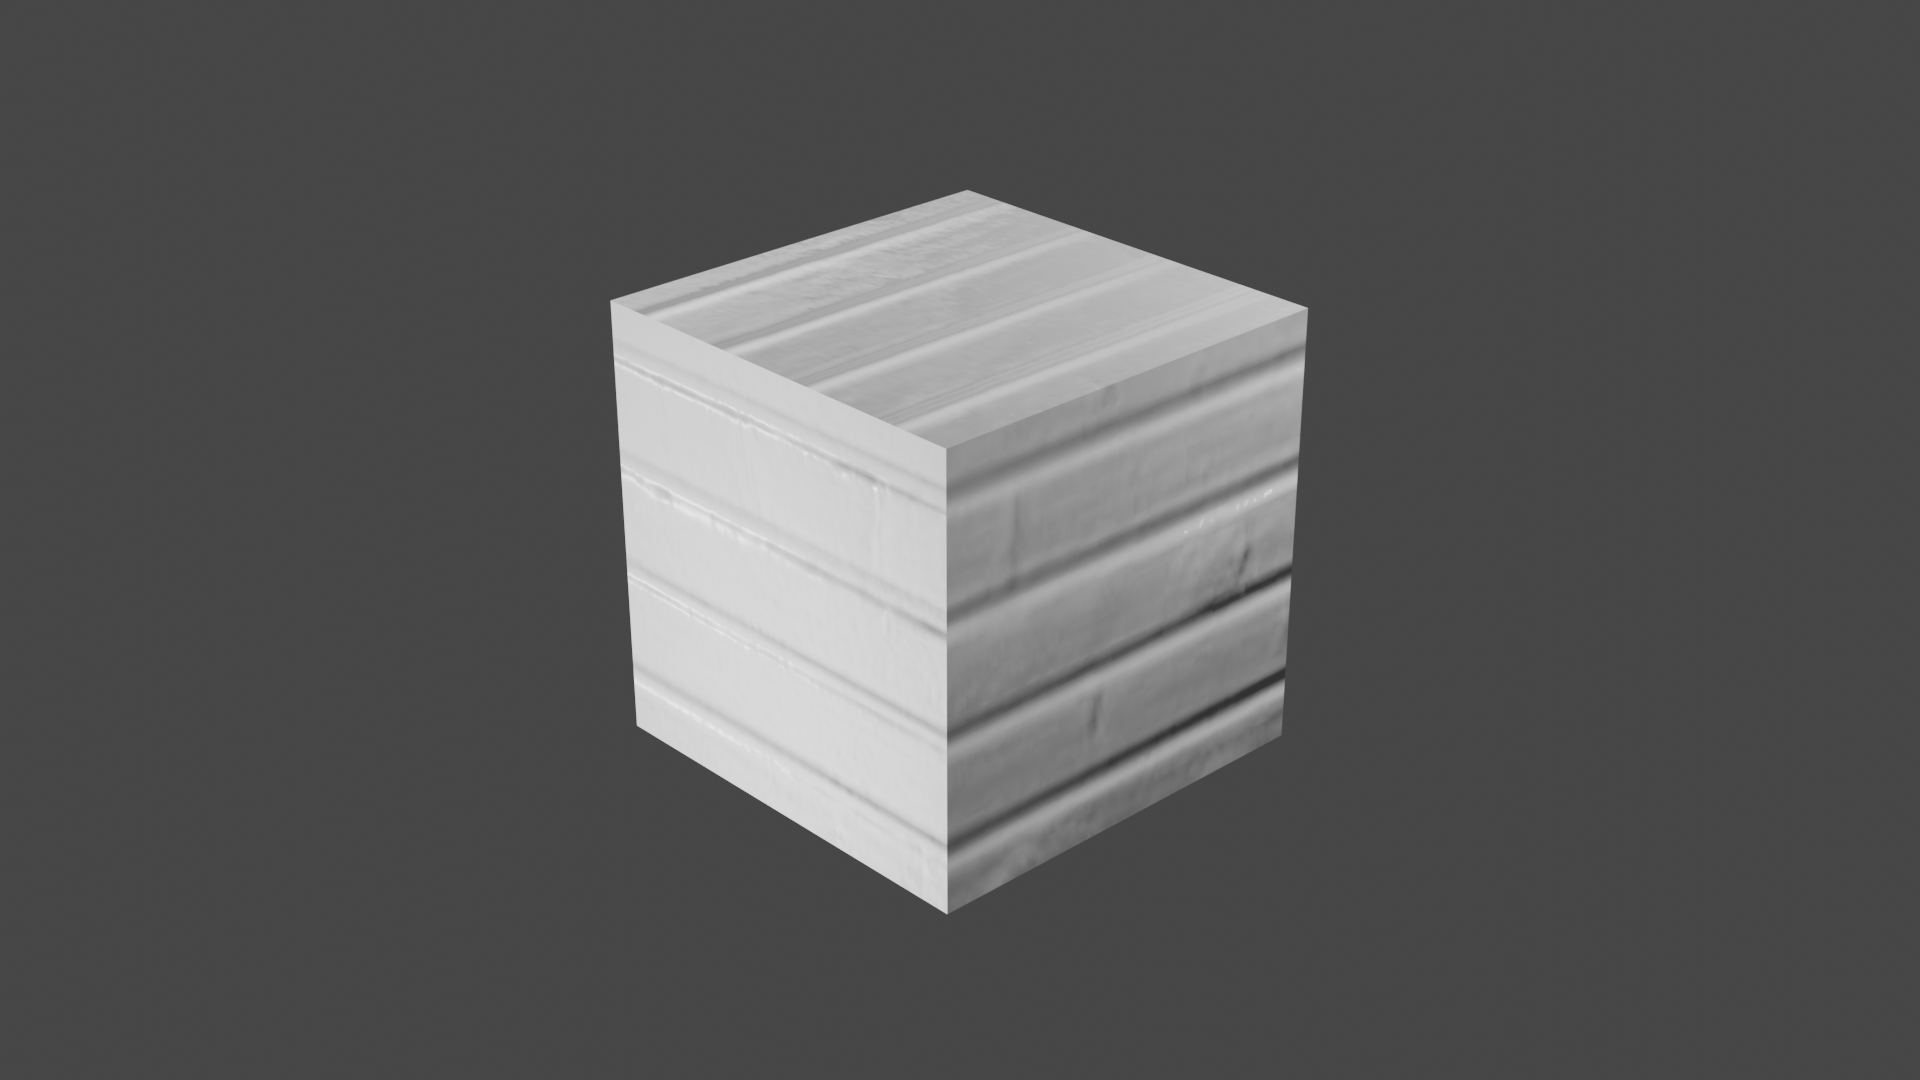
Everything
Here they are, in action on Blender.
Texture Websites
Where can you get textures?
Poliigon (Paid)
Very Simple Textures
Create a new project.
Add a 10x10 plane.
Create a folder called “Textures”
Toss the images there.
Create a material in that folder.
Toss onto the plane.
Put images into texture
Toss ‘texture’ to Albedo.
Toss ‘specular’ to ‘metalic’. Change to ‘Albedo Alpha’ and turn smoothness down to about 0.1. You can use this for occlusion instead.
Toss ‘normal’ to ‘normal map’
Toss ‘displacement’ to ‘Height map’
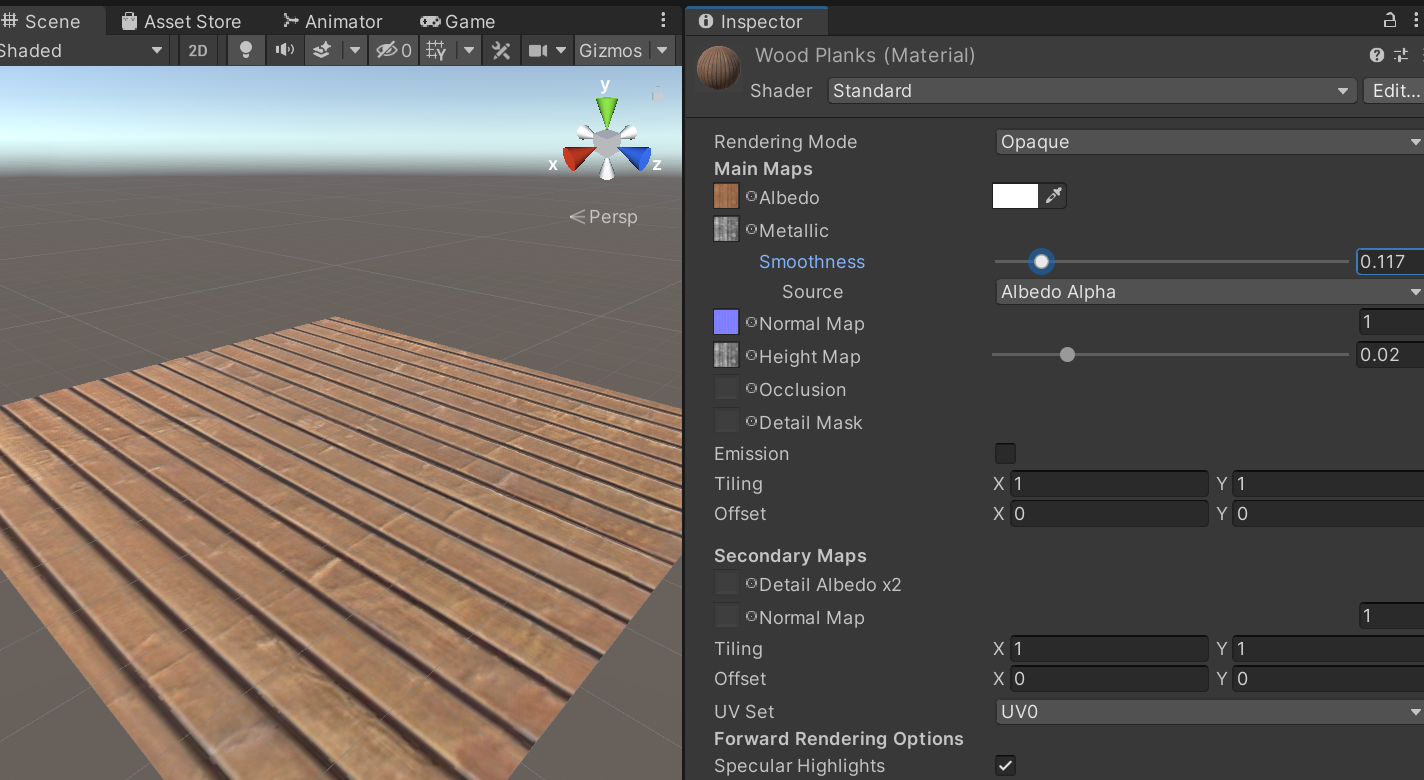
You can change the ‘tiling’ to control how many times it repeats on the surface.
UV Mapping
Take some road textures:
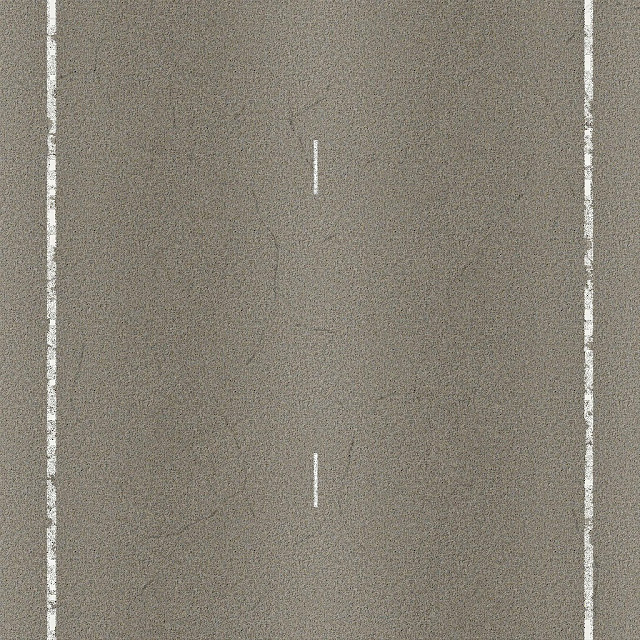
Road texture
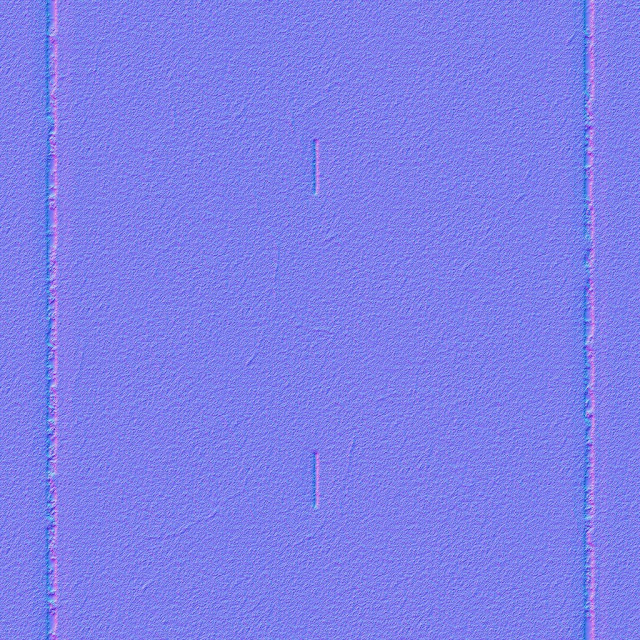
Road texture normal
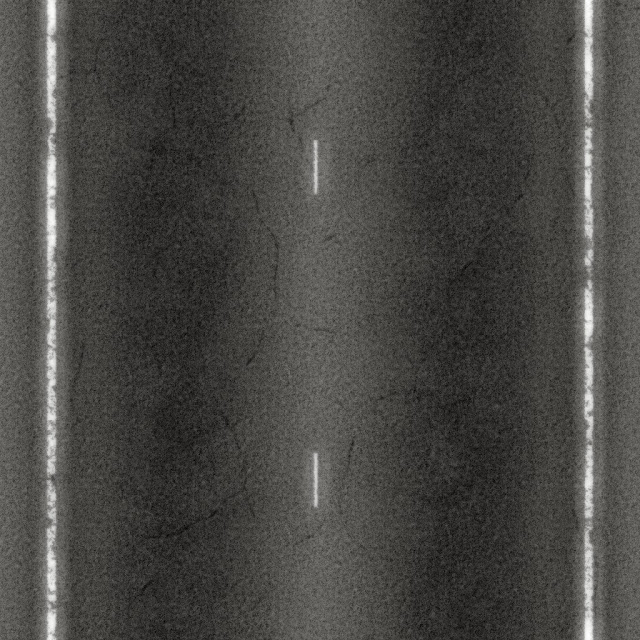
Road texture specular
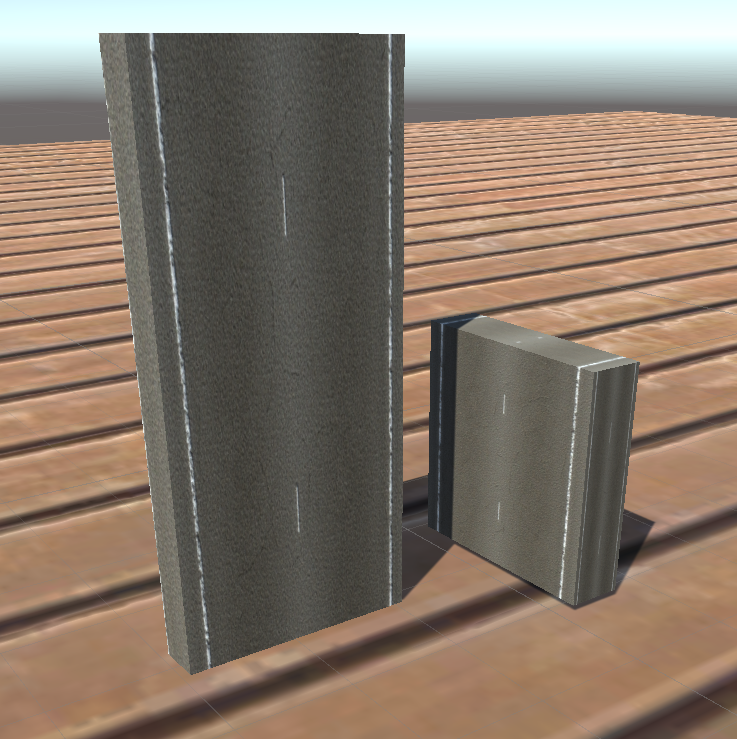
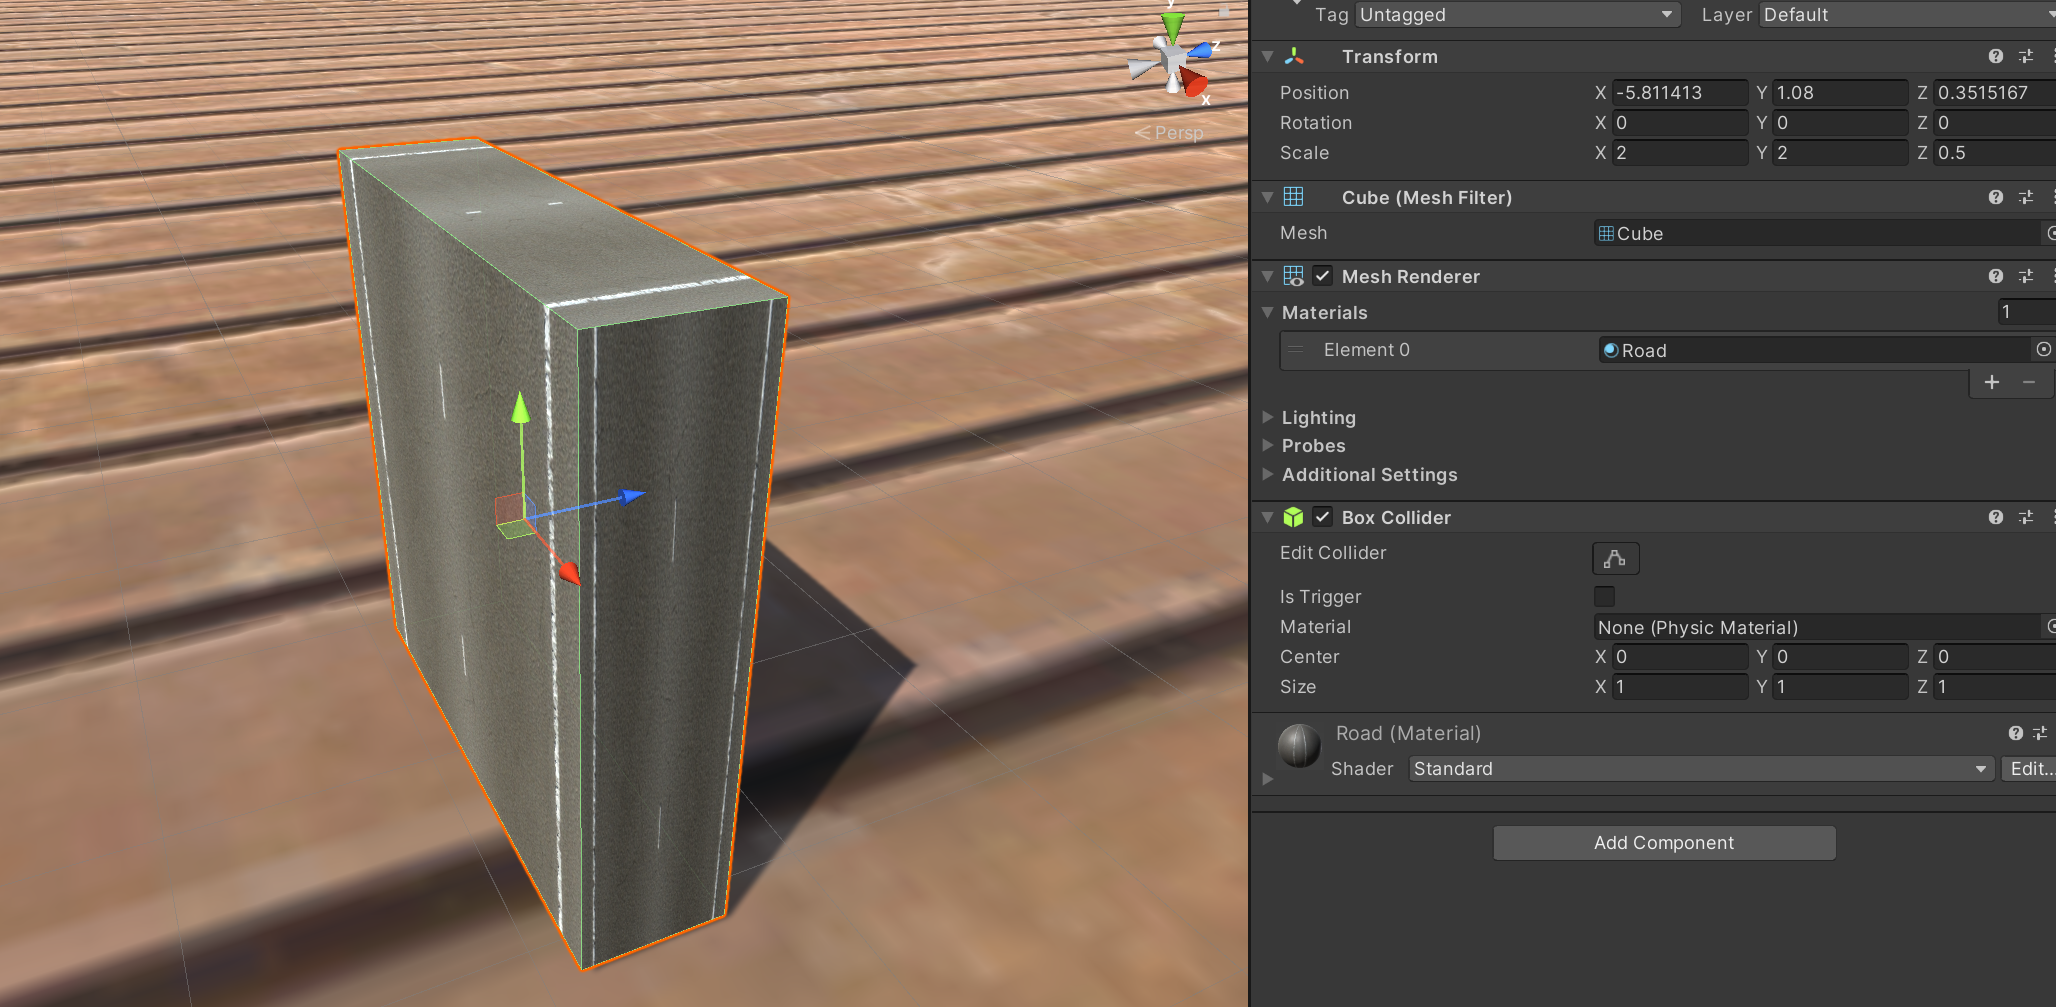
Create a road texture. I used specular for occlusion. Apply to a new cube.
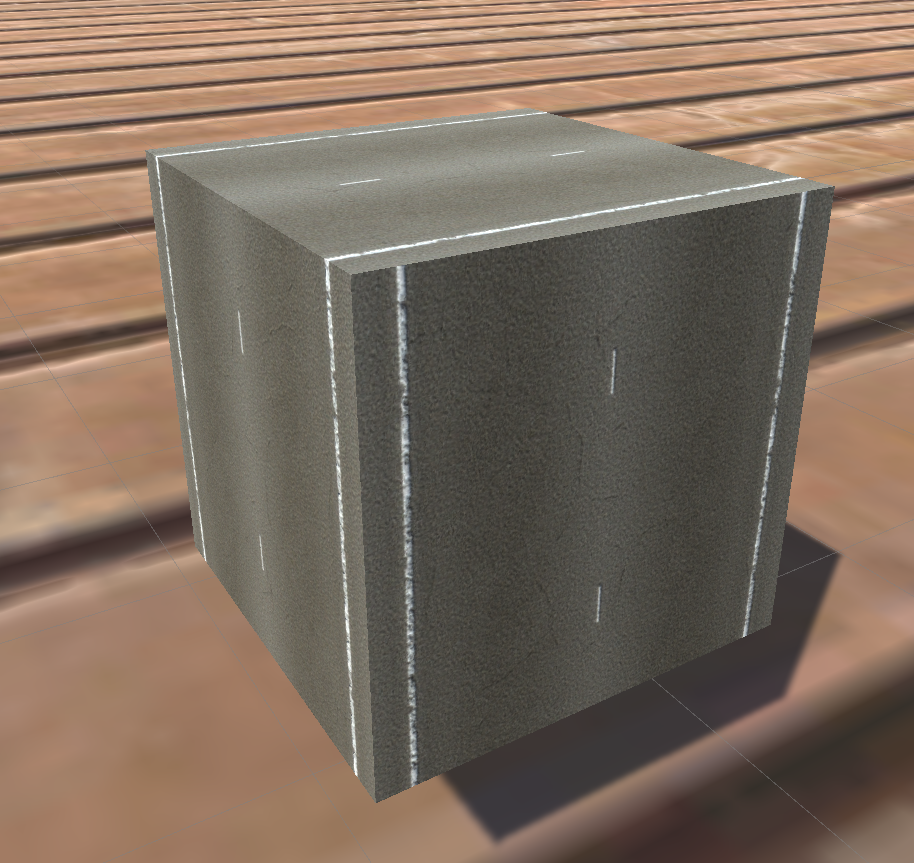
Looks ok. But what if we scale the cube?
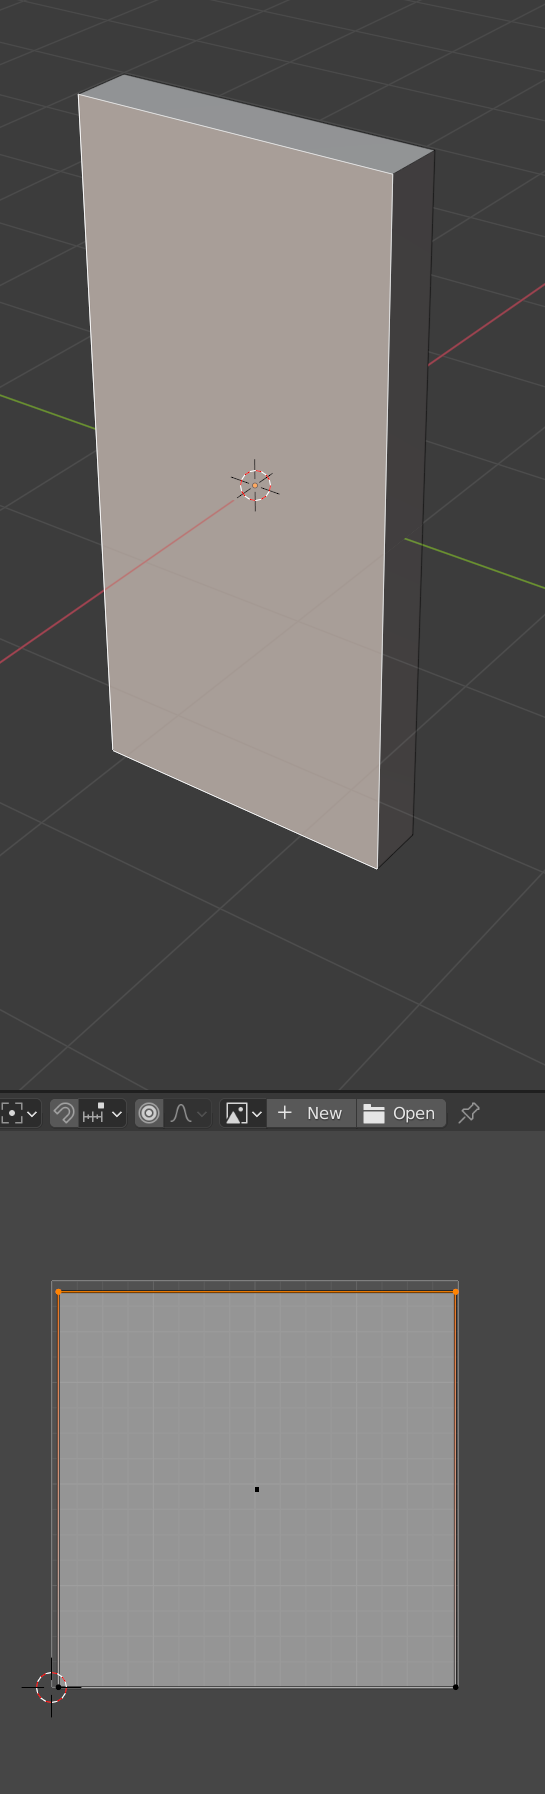
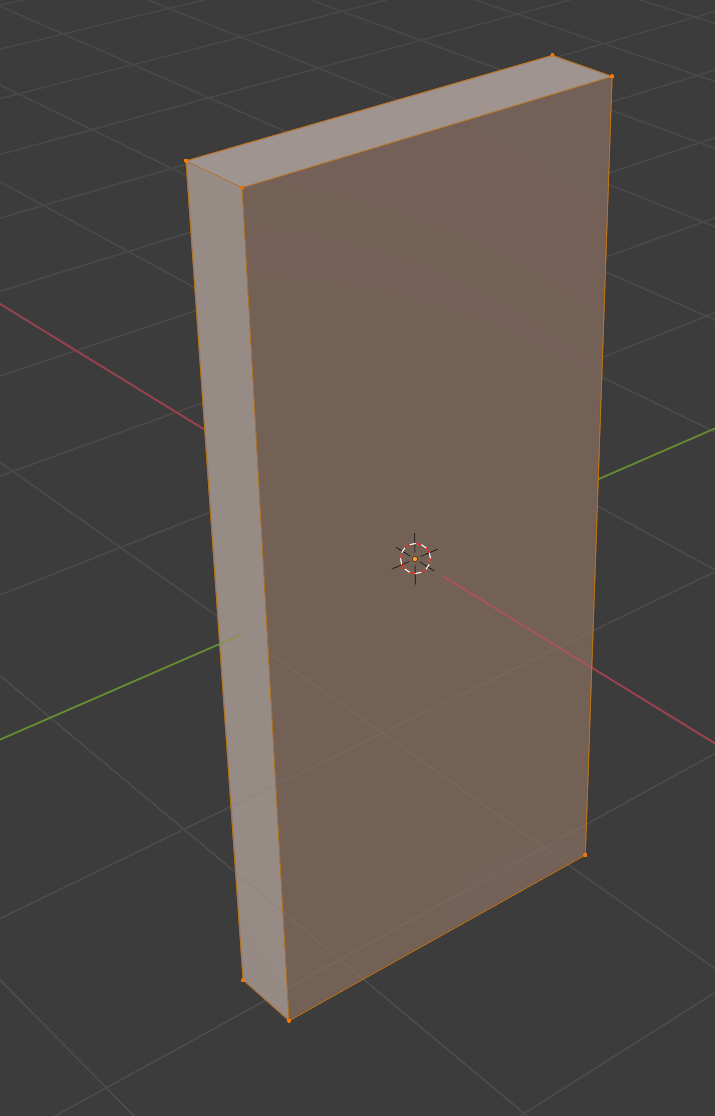
We need to change the geometry, and not scale the item. Then do a “UV Unwrap”.
Go to blender. Create a cube. Go into edit mode and not object mode. Change the cube dimensions.
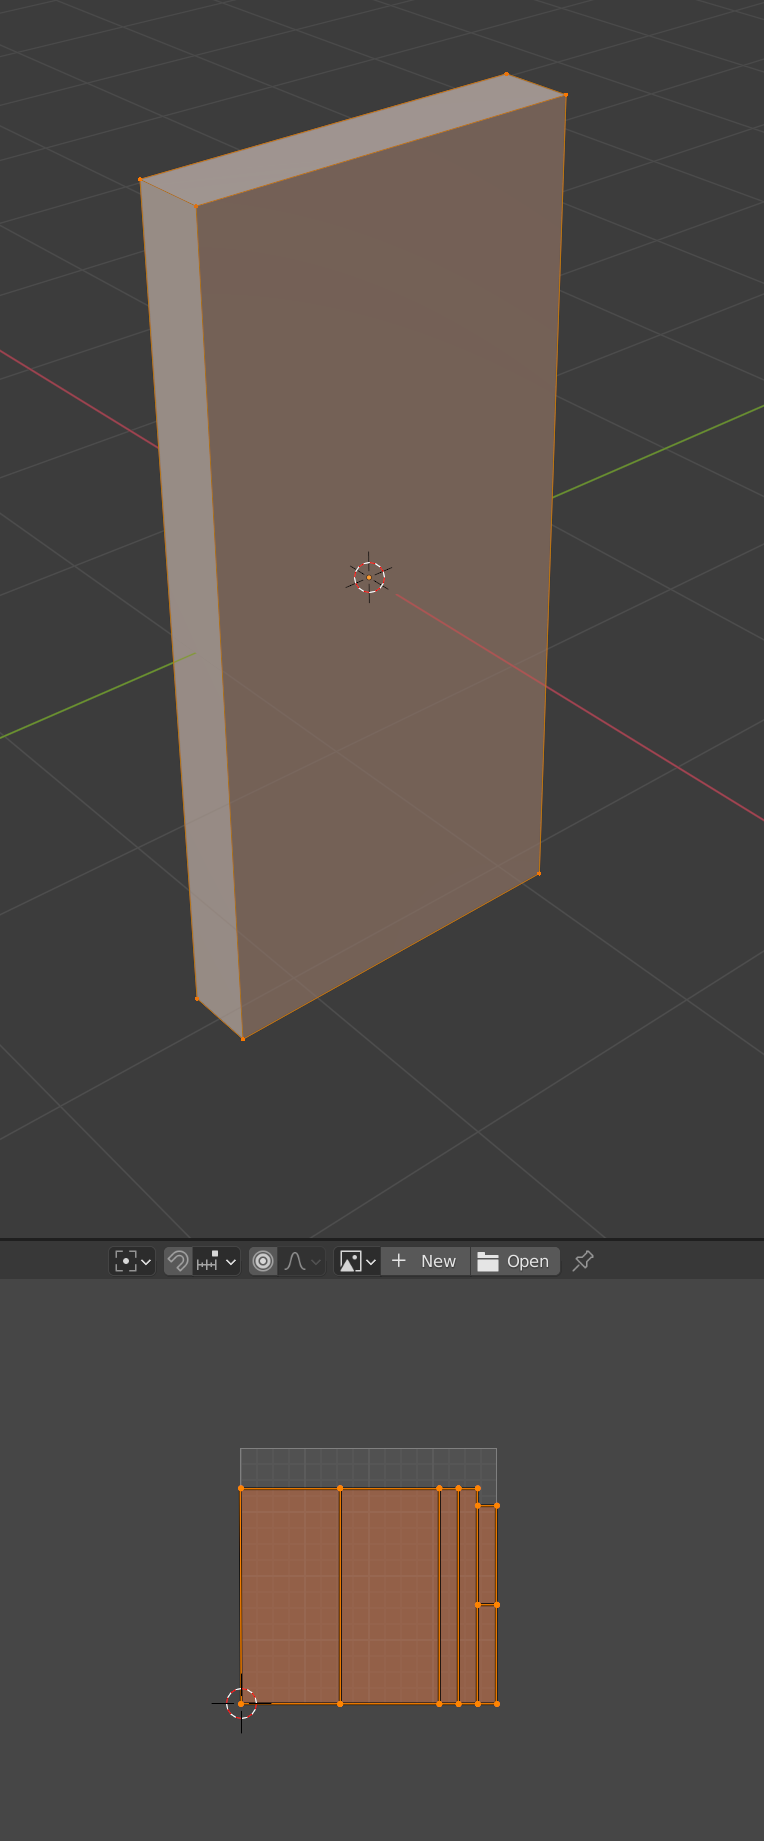
Change the bottom view to UV. Do a smart UV unwrap:
Delete camera and light. Save into your Assets folder. Toss cube onto scene. Apply material. See how it maps?
Change mapping. Save. See results.