2D Unity Part 2
Create tile set
Tiles will be 16x16. We’ll make multiple tiles at a time. Make a 16*3 and 16*4 image:
Keep in mind in Aseprite you can:
Use things like 16*3 in the sprite dimensions, no need to multiply itself.
You can show the grid overlay
Import and split tile set
When you import the sprite, we need to set our standard three changes, and then set it to multiple sprites. Then we click on the nearly-hidden sprite editor button and slice it up.
Commit and push.
Create tile map and palette
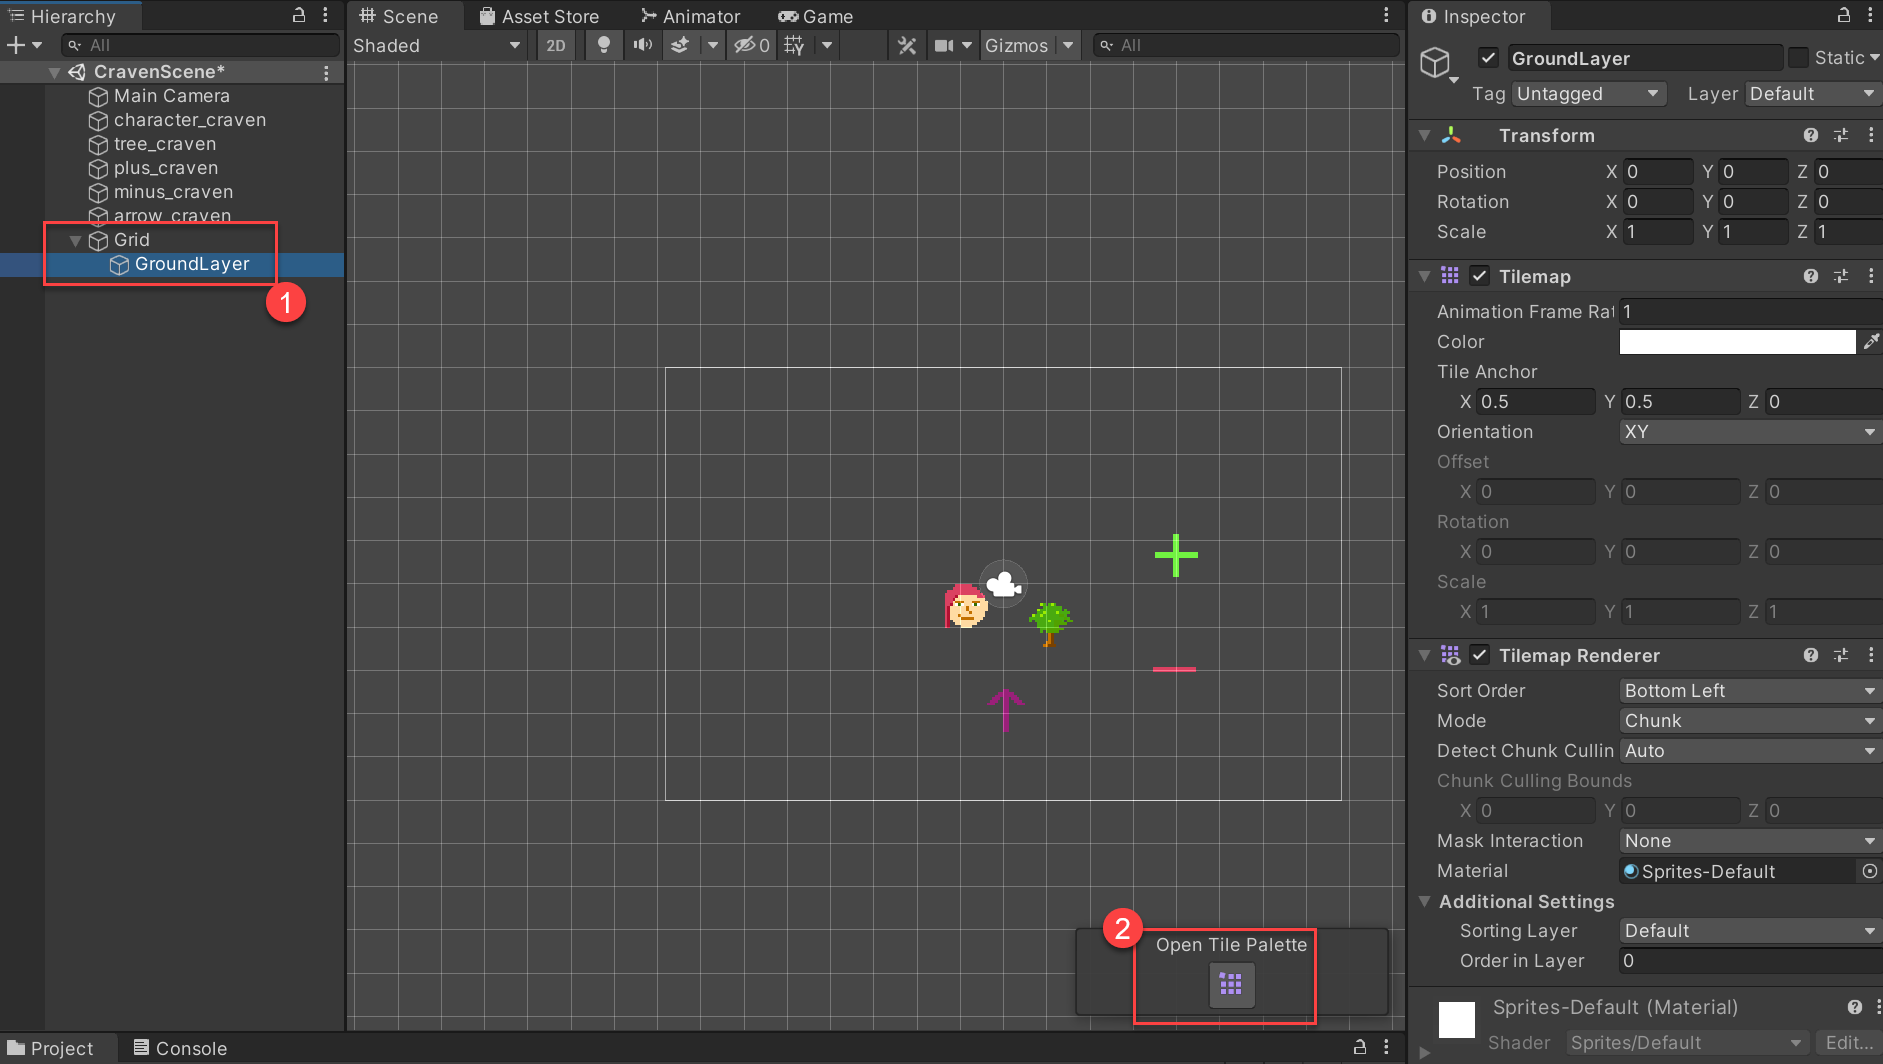
Create a new rectangular tile map for your scene.
Open the tile palette.
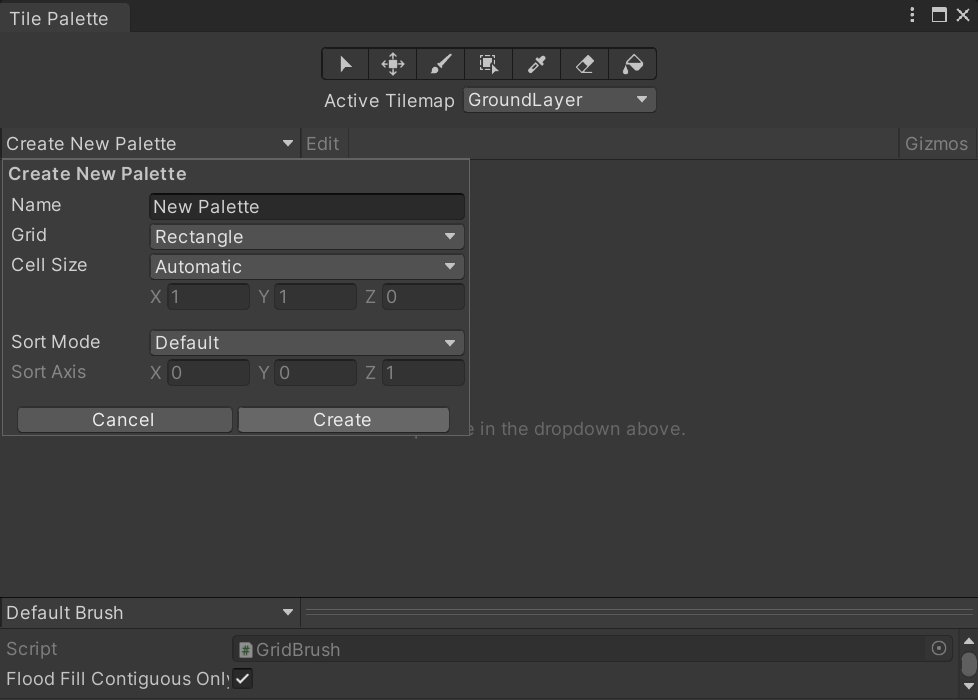
Create your own tile palette with your own name
Create a new palette. Create a new folder for it “Tile Palette”.
Select your sprites. Move to palette. Create folder for “Tile images”.
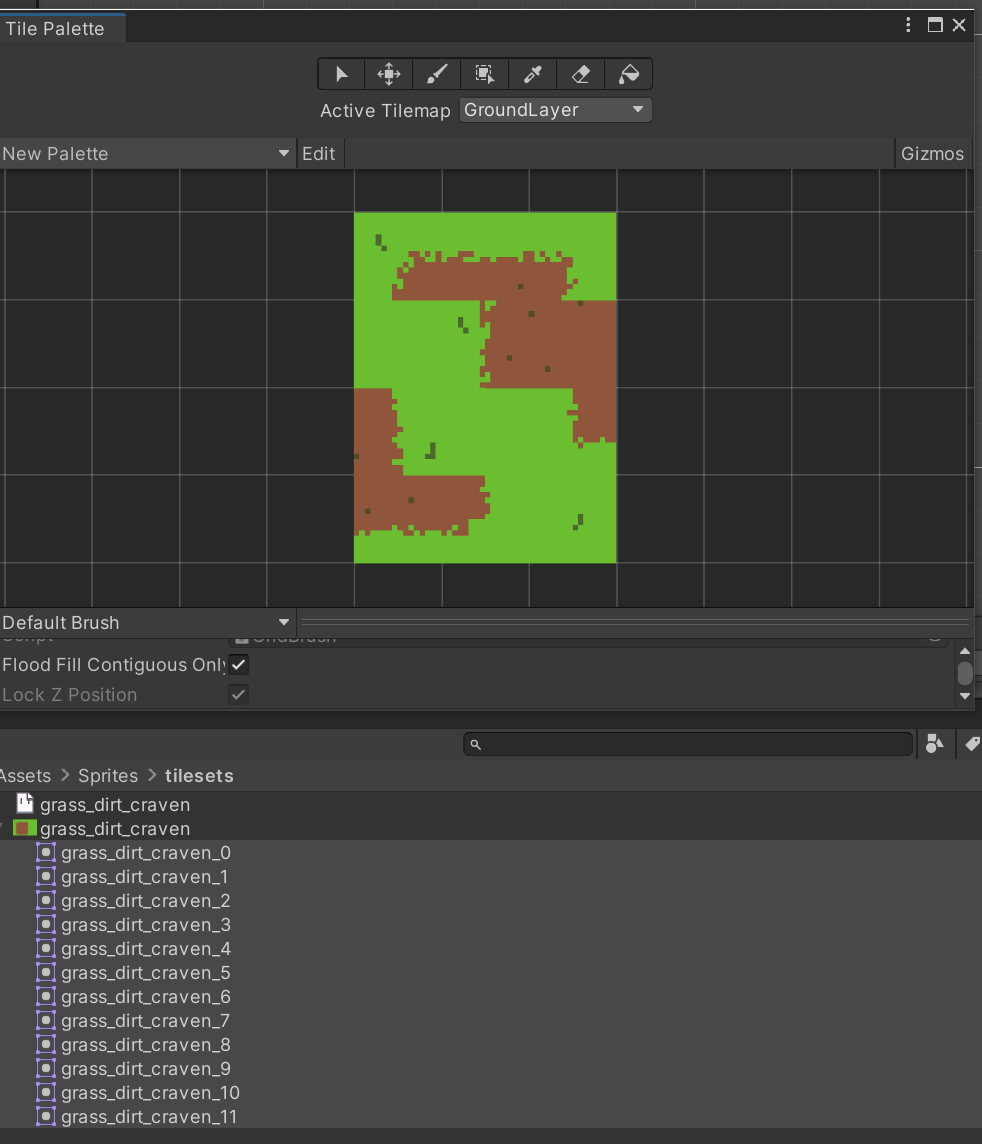
Order is weird. Somehow there’s a way to import better I think, but I don’t know it. To change order, click ‘Edit’ button and then alternate between S and M keys to move tiles to where you’d like.
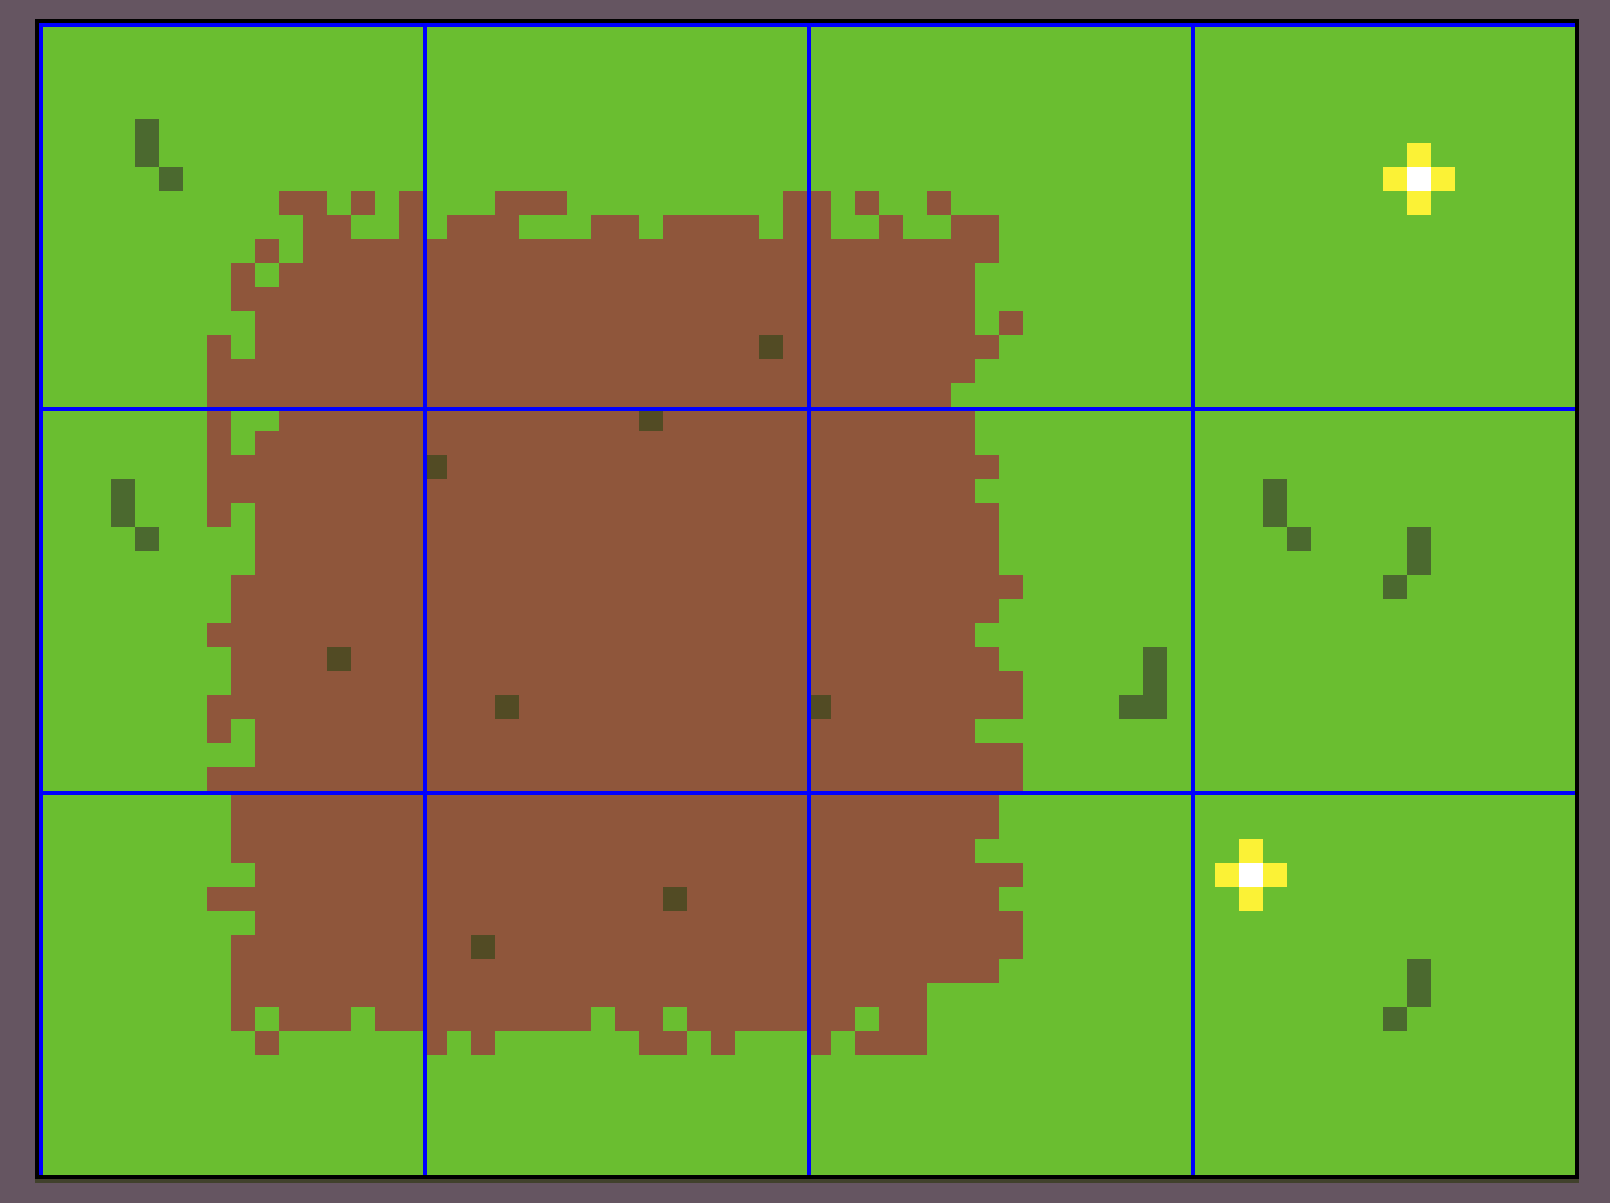
Paint with the tiles.
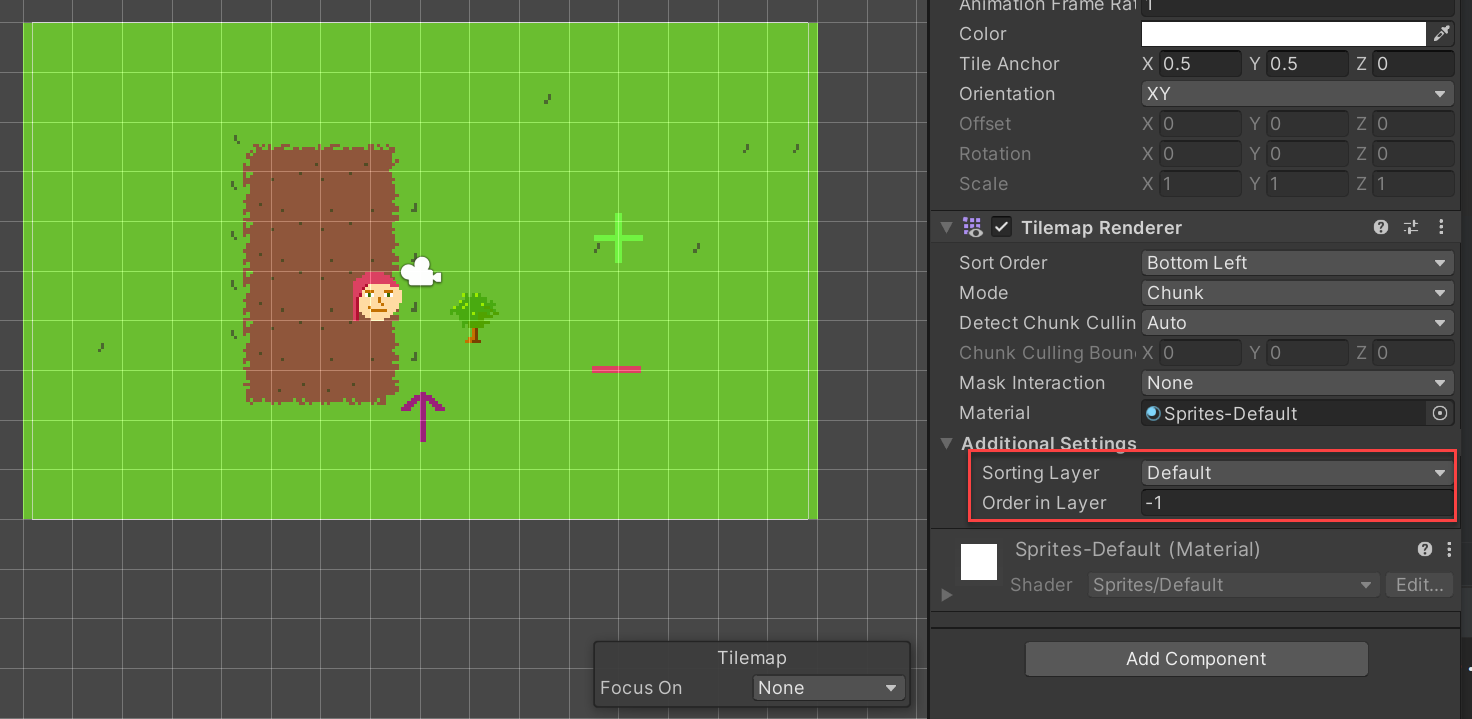
Change your rendering order so tiles appear below your sprites. Use layers, or ordering in layers.
Show how to do layers
Show how to do a tile collider 2d