2D Unity Part 1
Contents
Create sample sprites and add to Unity
Clone the base Unity project: https://github.com/pvcraven/2022_Class_2D_Project
Create sprites in Aseprite.
Use NES palette
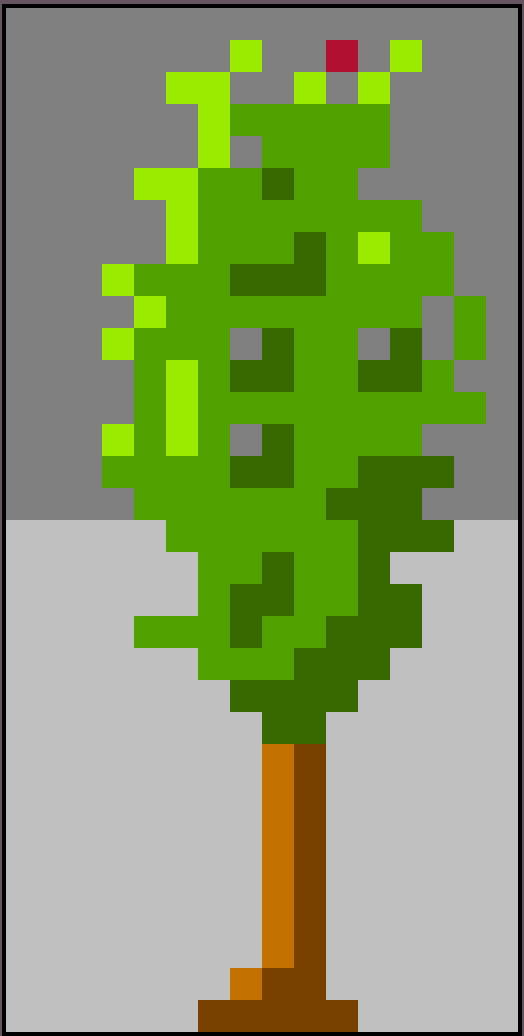
Create a 16x16 character.

Create a 16x32 tree. (Or some other size, keeping in mind 16x16 is the character size.)
Save to
Assets/Sprites/TreesorAssets/Sprites/Charactersfolder.Call your character
tree_nameorcharacter_name. Obviously, use your first and/or last name, not “name”.Export your sprite as a
.pngin that same folder.
Open in Unity, confirm the assets are there.
Do a git add, commit, push and pull to sync with the whole class.
Warning
Be careful of .meta files
Unity adds a .meta file that tags a GUID for each file. If you create
or move a file into a Unity project, let unity create a .meta for it
before check in! This includes the exported .png. Failure to do this
will cause a lot of merge headaches.
Change sprite settings
Create your own scene. Call it
scene_name.Drag character onto the screen.
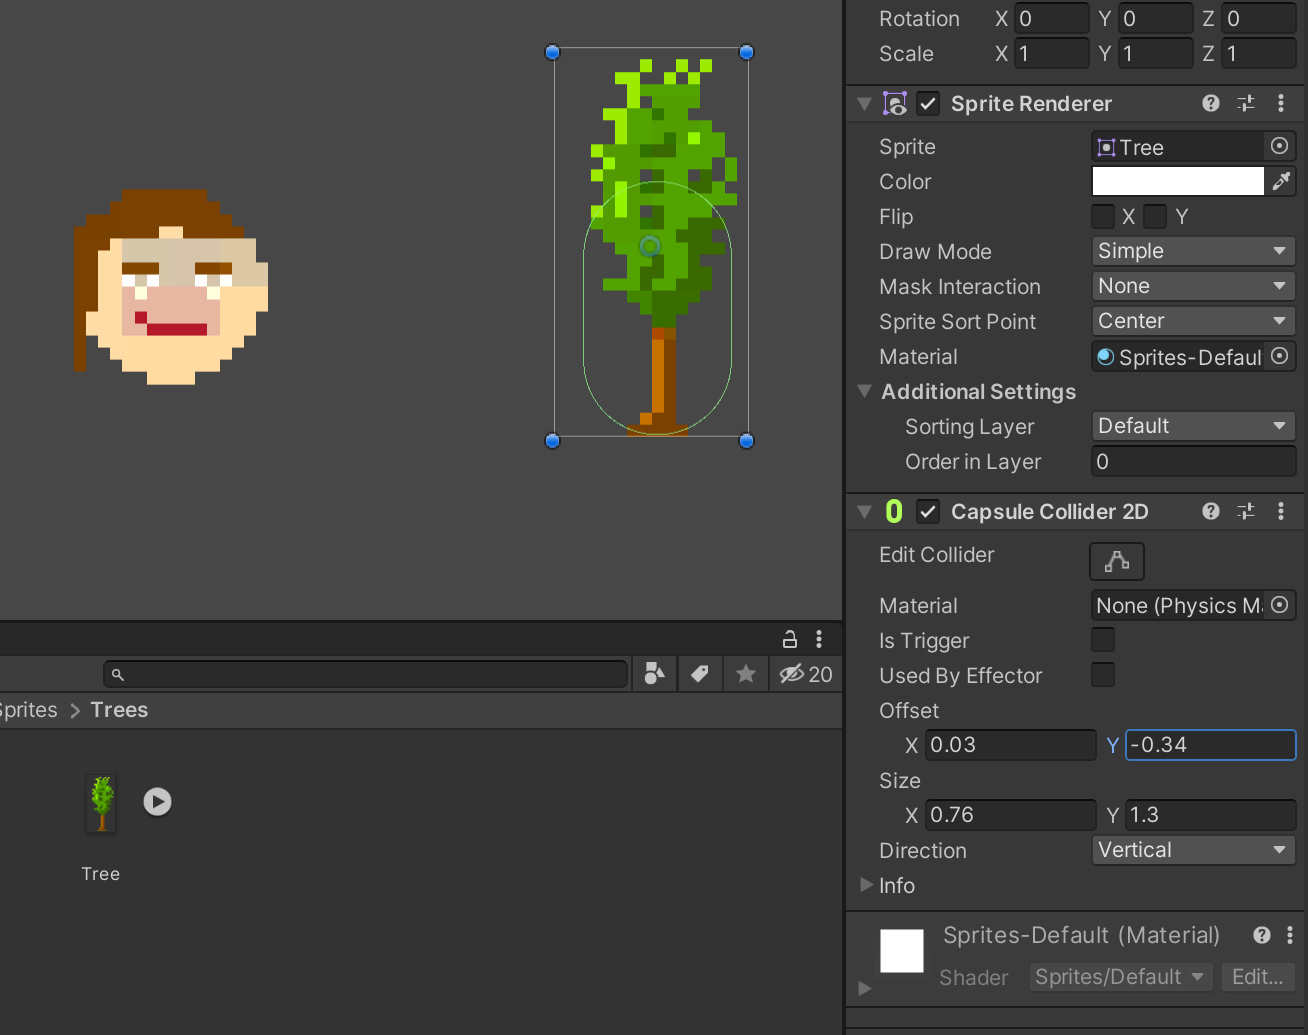
Way too small. Unity defaults to 100 pixels to one ‘unit’ which is 1 meter. Change from 100 to 16.
Great. Now the character is blurry. Change the filtering to ‘point’.
Character might be blotchy. Turn off compression.
Should be able to run the scene and see character properly.
Repeat these steps for your sprites. Don’t do this for other people’s sprites.
Sync with GitHub.
Make sprites solid
Add a rigid body 2d. Run the game. Character should now fall.
Zero out the gravity.
Add to your character, the MyCharacterController script that is already in the project under the scripts folder. Examine the script and see how it works.
Should be able to move character with WSAD. Can adjust speed as needed.
Add your tree.
Try running. No collision.
Add colliders to the character and tree.
There are circle colliders, capsule colliders, box colliders. Pick the best one.
You might not want to make a collider around everything for a more 3D look.
Try running. Character spins!
Freeze rotation.

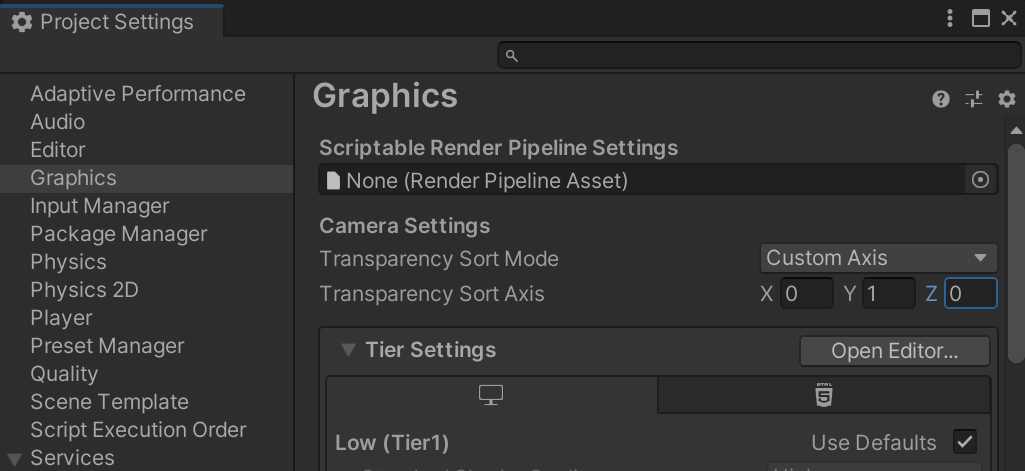
Character may or may not appear behind/ahead of the tree properly. You can use sort mode in project settings to fix:
Add in score
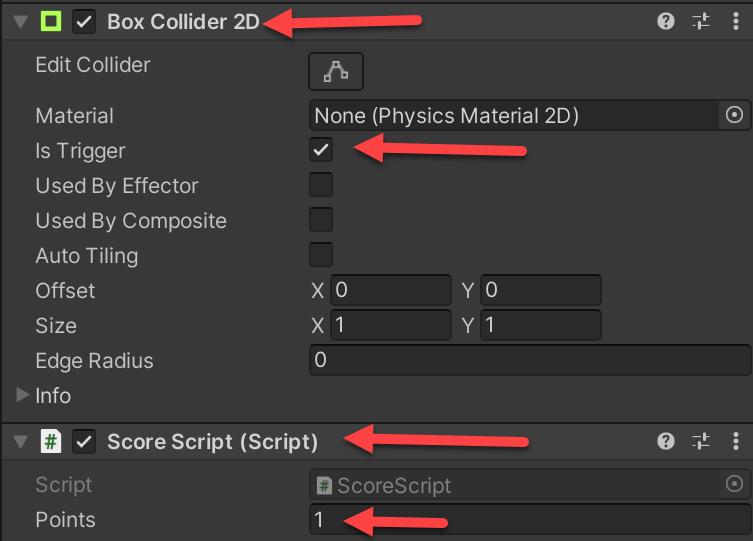
Add in a sprite to increase your score.
You’ll need a collider. Make the collider a “trigger”.
You’ll need to add in the ScoreScript. Examine this script and the character controller together to see how they work.
Set the points for the score script.
Test.
You can also have items that make the score go down by putting in a negative number for points.
Add in scene change
Create a sprite that will will cause you to go to the next level.
You’ll need a collider. Make the collider a “trigger”.
You’ll need to add in the SceneChangeScript. Examine this script and the character controller together to see how they work.
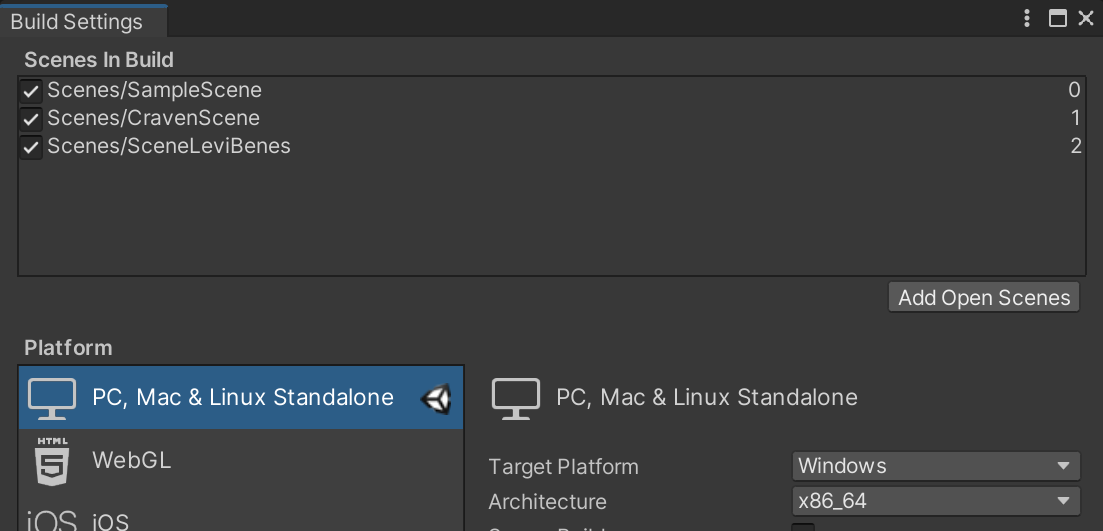
Your scene must appear in File…Build Settings. This is where you determine the order of levels. As this is a common area, only one person can edit at a time. So let the instructor do this in class.
Summary
This should step you through most of what you need to complete 2D Assignment 1. Expand what you’ve learned to create an explorable level. Don’t worry about the background image yet, we’ll get to that with tiles.